Recent Posts

All 'Bout That Cake, No Trouble

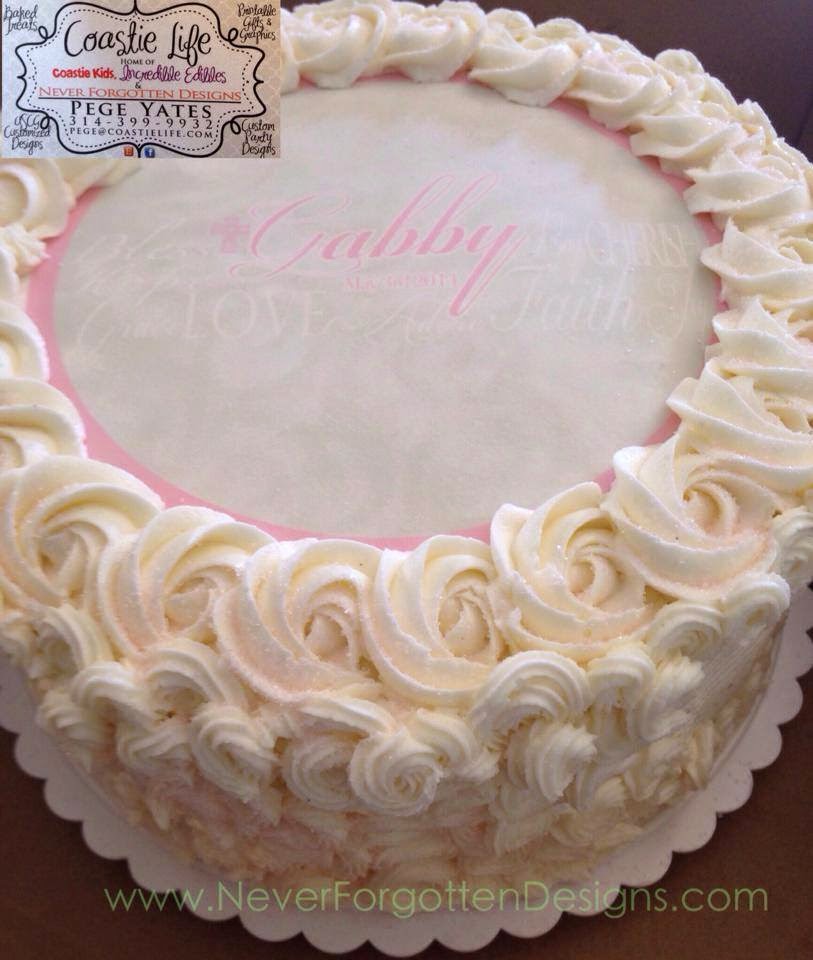
So no matter where your cake comes from, the basic rules are easy to follow to apply your edible frosting sheet.
#1 - DO NOT OPEN THE BAG YOUR EDIBLE IMAGES CAME IN UNTIL RIGHT BEFORE IT'S TIME TO APPLY THEM
This is the most important step. Frosting sheets are just that, frosting. Just like buttercream will crust after a few minutes. Now, if it's really humid and hot, you may have a different problem all together with your images being so soft that they stick to things and rip easily. This brings us to the next best practice....
#2 - DO NOT USE IN AN EXTREME CLIMATE
I have had very few mishaps with edible toppers but when I do, it's almost always because it's too humid or too hot. Summer months are notorious for high humidity and it makes the frosting circles work more like fabric as they are droppy and not stiff. When you have high humidity in a hot climate, my advice is to turn on an air conditioner and get your temperature up in your house to below 74 degrees. You wouldn't believe how HOT a kitchen can get when your baking on a summer day. Be aware when it's storming outside or a winter system is coming through it may effect your product too!
#3 REVIVE DRY, BRITTLE TOPPERS
It happens sometimes, you go to pull out your toppers and they seem a little brittle. Maybe part of the edge is cracked or they have zero movement. Place your image back in the bag CAREFULLY and create a more humid environment to get them flexible again. I have a steamer, but boiling water works the same. Once you have a good steam flow, take your toppers out and while they are still on their backers, fan over the steam one at a time for a few seconds. You should find that a little steam goes a long way, suddenly your edible image will be easy to work with again.
#4 - MAKE SURE YOUR HANDS ARE DRY
So, you're ready for the task of opening the bag and removing your toppers to quickly apply to your treat.... but one damp finger can ruin it all! Edible frosting sheets have the image printed on the front side, where the backside is where you want to touch. Water can distort your image, making it smear, bleed, or look like a water-colored mess. So, wash your hands really, really good.... use gloves if you have them. But, then INSPECT your hands and make sure they are dry. Have a paper towel near you so that while applying the images you can quickly wipe off any frosting that may get on your fingers / hands from handling the cake.
#5 - APPLY TO MOIST FROSTING
Frosting sheets need a moist surface to "melt" into. That beings said, make sure your frosting has not crusted before applying. Some frosting never crust up, but those bakers out there know what I mean. Frost and place fast for best results. For those placing your toppers on something other than butter cream, please see my next best practice. If you find your butter cream has crusted, spray a light mist of water and then apply your edible image topper AFTER the water droplets have adsorbed into the frosting.
#6 - MOISTEN ONLY IF YOU HAVE TO
If you plan to apply to gumpaste, fondant, chocolate or hard candy your edible image will only stick with the use of a little adhesive. I have found that the best way is to use piping gel or a small cup of warm water and a food safe paintbrush. Have the edible topper image side DOWN and brush the back with a little warm water. That being said, dip the brush in water and then tap off the excess. When you go to brush it on the back, make sure you get almost to the edge, but not all the way, as the moisture MAY make the sides bleed/distort on front of the image topper. Since the topper is made of frosting, a little water will give it just enough tack to stick.
#7 - LEVEL IT OUT
Do not use your hands or fingers, it will just look wavy and again, you will risk moisture being added. I like to use a clean and dry fondant smoother like the Wilton Fondant Smoother that cost under $3. Be careful when you level it out not to pull frosting onto the top. I press it down and then make a very small motion back and forth or in a circle to level it down flat. If you do not have a fondant smoother, any flat item will work. In a pinch I have used the bottom of a measuring cup or a flat spatula. Make sure your wipe between each topper with a paper towel to keep your smoothing device clean and dry.
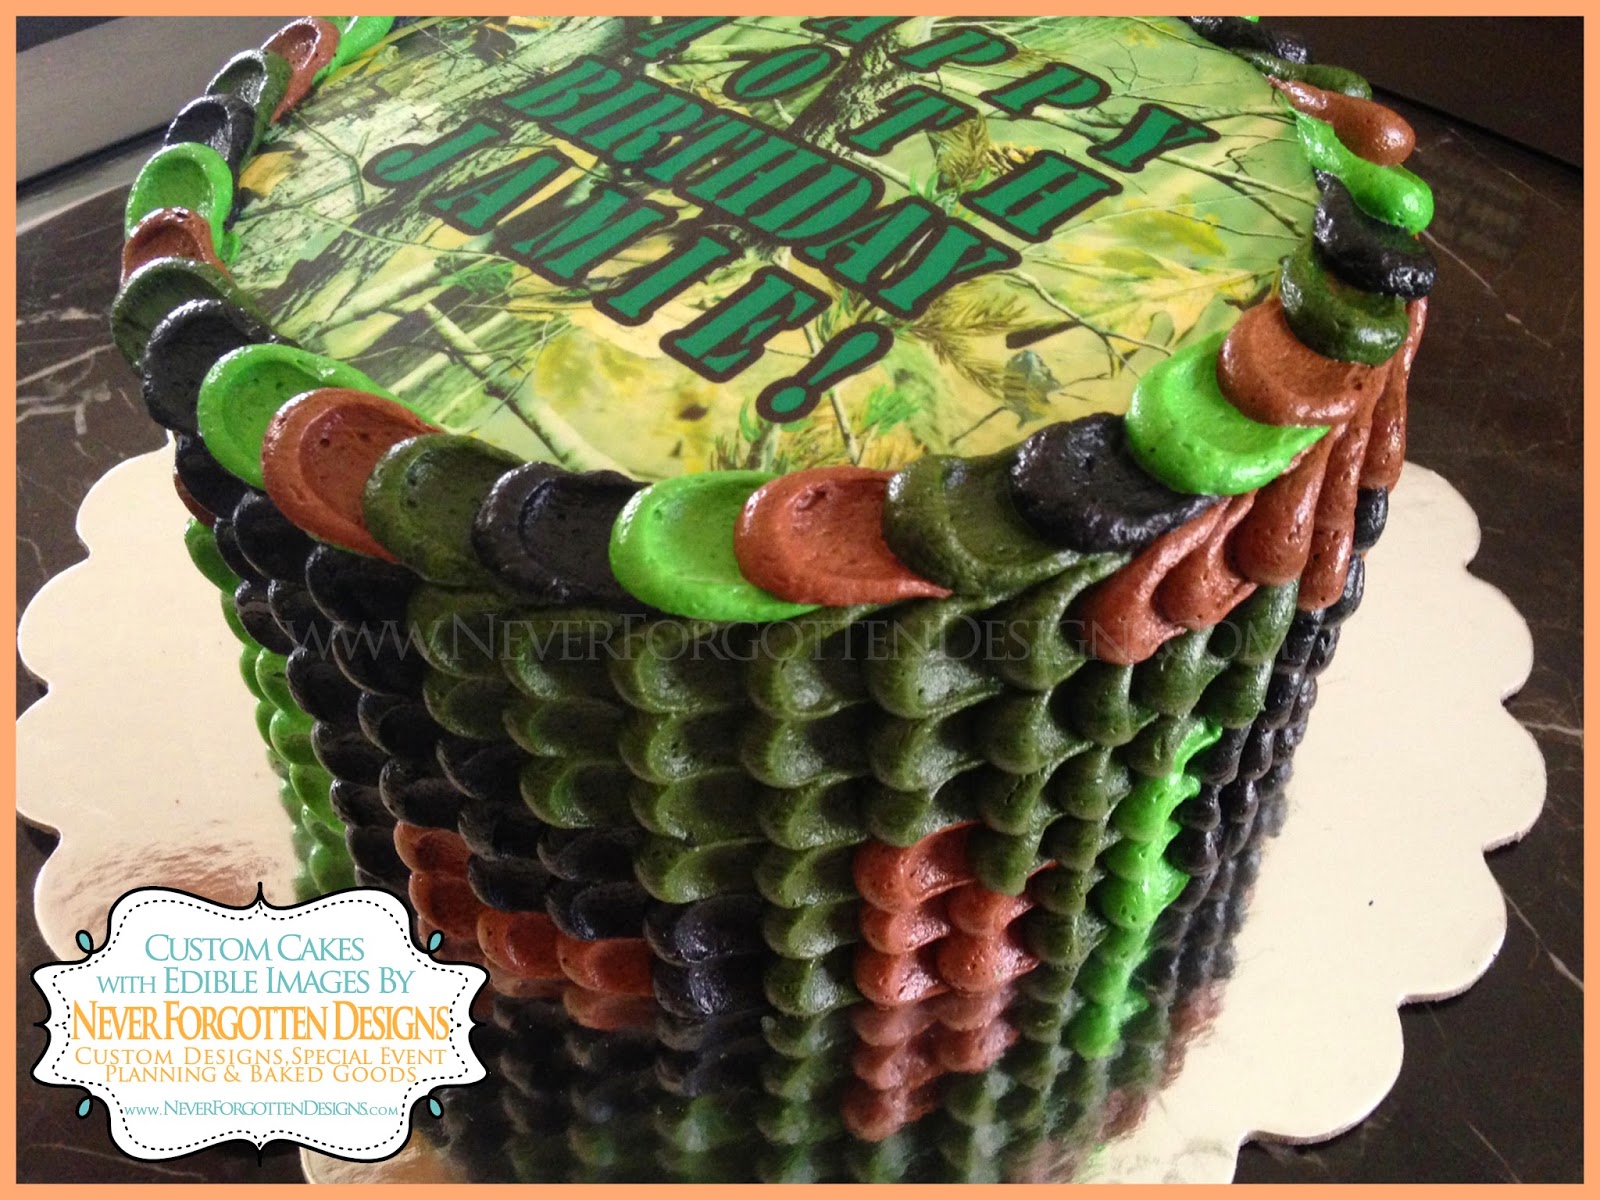
Custom edible images available in 8x10 and 10x16 sizes at www.NeverForgottenDesigns.com and my Etsy shop!